Perfectly painted pumpkins
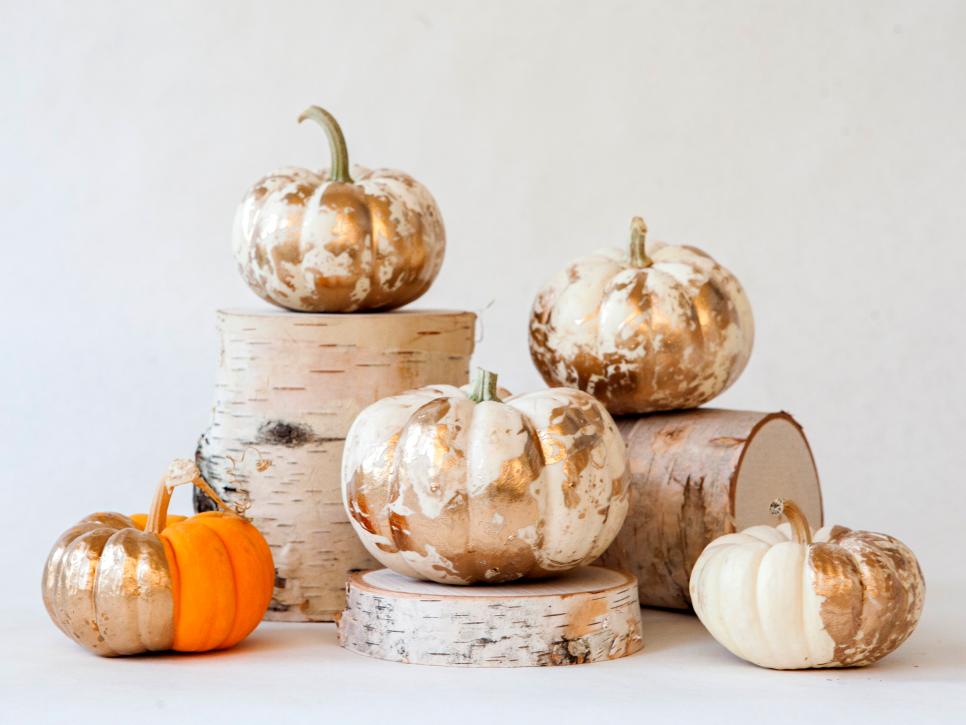
Painting pumpkins is a new twist on carving pumpkins and it’s not as messy. This new trend means you can use your pumpkins well past Halloween.
Pumpkins are the best of the fall and using them into several holidays makes them more practical and now beautiful.
Mirror Pumpkin on the wall:
A little spray paint, some creativity, and an imagination is all you need to achieve this futuristic fall decor look for your pumpkins this autumn!
Supplies:
Pumpkin
Painters tape
Mirror spray paint
Directions:
- Cover the stem with the painter’s tape.
- Spray paint the pumpkin, and let dry.
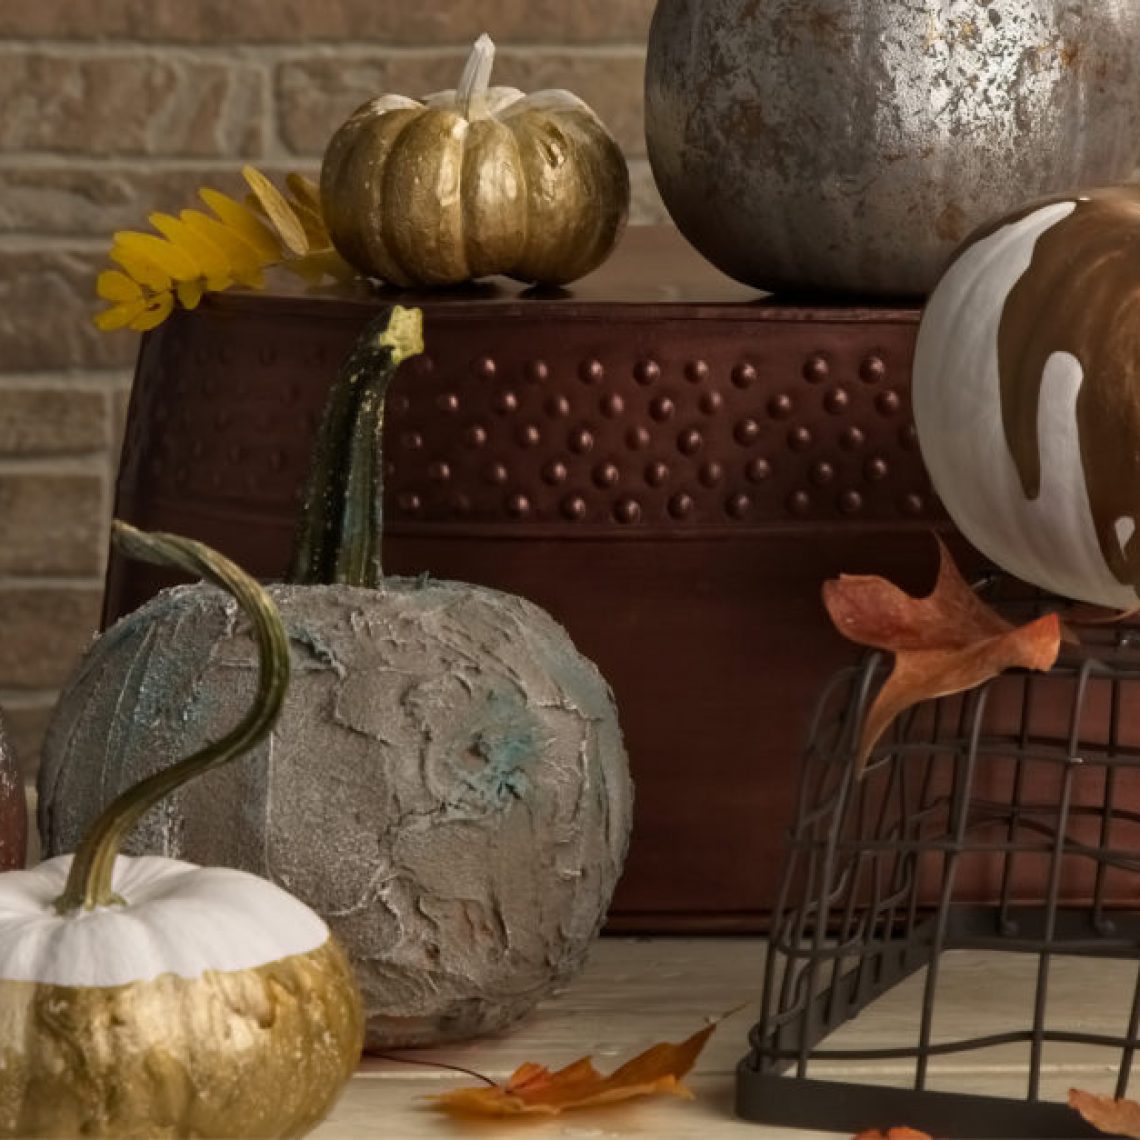
Rustic Concrete Pumpkin
Do you want to go with an industrial, yet sophisticated look this fall? Take a stab at this mixed material design on your pumpkins for the season!
Supplies:
Paper towel
pumpkin
premixed concrete patch
grey acrylic paint
paint brush
water
putty knife
white acrylic paint
teal acrylic paint
Directions:
- Dip the paper towel into the water, and wet the pumpkin.
- Use the putty knife to spread the premixed concrete onto the pumpkin.
- Allow to dry for 4 hours or more, until hardened.
- Paint the pumpkin using the grey, white, and teal colors.
Drippy Painted Pumpkin
Channel your inner painter for a pumpkin design that has a touch of both colorful and neutral, and exudes drama.
Supplies:
white acrylic paint
paint brush
metallic bronze acrylic paint
pumpkin
Directions:
- Use the white acrylic to paint the pumpkin its base color.
- Pour the metallic bronze paint over the top of the pumpkin.
- Tilt the pumpkin around, allowing the paint to drip down the sides, and let dry.

